What order do you paint a house interior?
Most guides stop at one room. A whole house adds a second question: which rooms come first.
Step 1: List everything first
Walk each room with a flashlight held flat to the wall. Note nail pops, cracks, stains, chipped trim and any wallpaper under old paint, and settle every room's color so you buy paint once.
Step 2: Do all repairs in one pass
Patch the whole house before you open a can of paint. While compound dries in one room, you can sand and prime in another.
Step 3: Start upstairs, in the room that matters least
A spare bedroom or a closet is where your cutting-in hand gets steady. Then work down floor by floor.
Step 4: Give the kitchen and baths their own days
They have the most cut lines, around counters, tile and fixtures, and you can't go without them for long.
Step 5: Finish with the halls, foyer and stairwell
Every trip with a ladder or a paint tray goes through them. Painted last, they stay free of scuffs.
What order to paint a room
Inside each room, work from the top down, the same order Sherwin-Williams gives (opens in a new tab): ceiling, walls, then trim. Some painters do trim before walls and tape it off; either works, but the ceiling always goes first.
| Order | Surface | Why it goes here |
|---|---|---|
| 1 | Ceiling | Drips and roller spatter land on walls you haven't painted yet. |
| 2 | Walls | Cut in at the ceiling and trim, then roll. Paint that strays onto trim gets covered next. |
| 3 | Trim: crown, casings, baseboards | Enamel goes on last, so you can cut a crisp line against a dry wall. |
| 4 | Doors | Take them down, remove the hardware and paint them flat so the enamel levels out. |
How to prep walls before painting
Paint looks only as good as the wall under it. Sherwin-Williams' Emerald (opens in a new tab) and Emerald Urethane Trim Enamel (opens in a new tab) data sheets set the baseline: clean, dry, dull surfaces, patches cured and sanded with the dust removed, and caulk applied after priming.
What you'll need
- Brushes: a 2½-inch angled sash brush for cutting in and a smaller angled brush for trim.
- Rollers: a 9-inch frame, an extension pole, a tray, and covers: a short nap for smooth walls and enamel, a thicker one for textured ceilings.
- Paint: a wall paint such as Sherwin-Williams Duration Home or Emerald, or Benjamin Moore Regal Select or Aura, plus a ceiling paint, a trim enamel and a stain-blocking primer.
- Prep: patching compound, putty knives, sanding sponges, paintable caulk, a bucket, sponges and a mild cleaner.
- Protection and access: drop cloths, plastic for furniture, painter's tape, a screwdriver, a sturdy stepladder and a work light.
Prep in this order
Step 1: Clear and cover
Move furniture to the center under plastic, lay drop cloths wall to wall, and take off switch plates and outlet covers.
Step 2: Wash
Clean the walls with a mild cleaner, rinse and let them dry. Kitchens, baths and the wall behind the sofa carry grease and hand oils that paint won't grip.
Step 3: Patch and sand
Fill holes and cracks, let the compound dry, sand it flush and wipe off every bit of dust.
Step 4: Dull the gloss and prime
Scuff-sand glossy trim, seal water and smoke stains with a stain-blocking primer, and spot-prime every patch.
Step 5: Caulk
After priming, fill the gaps where trim meets walls and ceilings with paintable caulk.
How to cut in paint and roll without lap marks
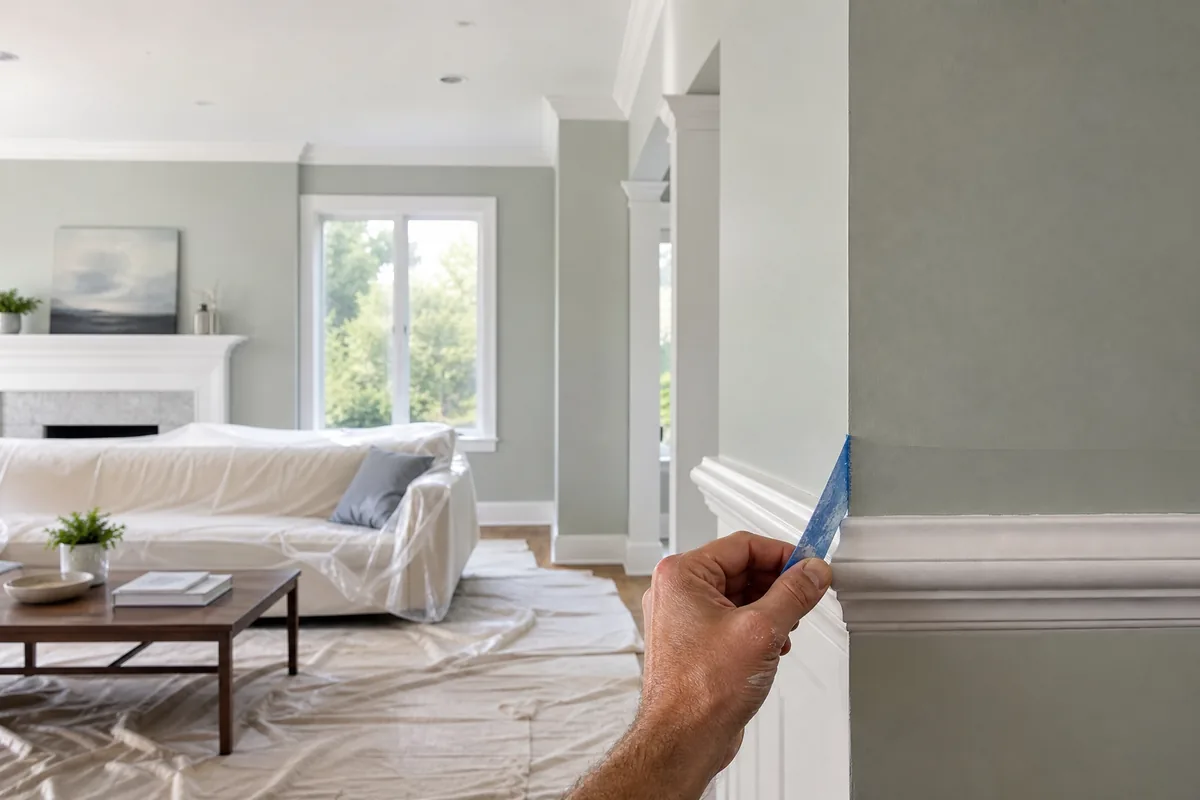
Cutting in means brushing a band of paint where the roller can't reach: the ceiling line, inside corners, and around trim, windows and doors. It decides whether a room looks professional. The method below follows Benjamin Moore's cutting-in guide (opens in a new tab) and Sherwin-Williams' room guide.
Step 1: Use good light and a 2½-inch angled brush
Benjamin Moore recommends a 2½-inch angle sash brush for cutting in. Set up a work light too; shadows hide the paint line.
Step 2: Load a third of the bristles
Dip about a third of the bristle length and tap each side against the inside of the can. Wiping the brush on the rim strips off the paint you need.
Step 3: Unload, then ease into the edge
Set the brush down half an inch from the edge, then slide toward the line, long tip of the bristles leading, with light, steady pressure.
Step 4: Make the band wide enough
Sherwin-Williams suggests a 2- to 3-inch band; Benjamin Moore feathers it 3 to 5 inches onto the wall. Either way, the roller needs room to overlap.
Step 5: Cut in one wall, then roll it
Roll while the band is still wet so the two blend. That wet edge is what prevents lap marks. Cut in the whole room first and the bands can dry into a visible frame.
Step 6: Roll from dry into wet
Spread paint in a W or N pattern from the dry area back into the wet edge. Sherwin-Williams' Emerald data sheet adds: finish each section in one direction, especially with dark colors.
Every coat gets its own cut-in. How many coats a room needs, and which sheen suits each room, are answered in our interior painting FAQ.
How long to wait between coats
Longer than most people expect, especially on trim. Here is what four common interior products list on their data sheets, all measured at 77°F and 50% relative humidity.
| Product | Used on | Dry to touch | Ready to recoat |
|---|---|---|---|
| Benjamin Moore Regal Select Eggshell (opens in a new tab) | Walls | 1 hour | 1 to 2 hours |
| Sherwin-Williams Emerald Interior Matte (opens in a new tab) | Walls | 1 hour | 4 hours |
| Sherwin-Williams Emerald Urethane Trim Enamel, Gloss (opens in a new tab) | Trim and doors | 2 hours | 4 hours |
| Benjamin Moore Advance Semi-Gloss (opens in a new tab) | Trim and doors | 4 to 6 hours | 16 hours |
Wall paints are often ready for a second coat the same afternoon. Trim enamels range from 4 to 16 hours, so go by the label on your own can. All four sheets say temperature and humidity change these times, and all four list 50°F as the minimum for application.
When painting a house interior outgrows DIY
Plenty of rooms make a good weekend project. These are the signs a job needs more than a roller and a free Saturday:
- Two-story foyers and stairwells. Walls over a staircase mean a ladder on the steps or a plank setup, which is no place to learn. Our interior painting crews bring the planks and ladders those spaces need.
- Cracks that reopen, stained ceilings or loose plaster. Paint won't hold any of them together. Fix the cause, then the surface with drywall repair, then paint.
- Wallpaper under the paint. If paper shows at a seam or the wall stays tacky after washing, plan for wallpaper removal before any paint goes on.
- A whole house on a deadline. Before a move-in or a listing, weekends run out fast.
Quick answers about painting a house interior
- Should I use painter's tape or cut in freehand?
- Whichever gives you a clean line. Benjamin Moore says to tape according to your comfort level, and freehand is faster once your hand is steady. If you tape, press the edge down firmly and pull it once the paint is dry; Sherwin-Williams says that's typically within 24 hours.
- How much paint do I need for one room?
- Multiply the wall perimeter by the ceiling height and divide by the coverage on the can: 350 to 400 square feet per gallon for Sherwin-Williams Emerald Interior Matte and 400 to 450 for Benjamin Moore Regal Select Eggshell, per their data sheets. A 12-by-14-foot bedroom with 8-foot ceilings has about 416 square feet of wall before doors and windows, so plan on roughly a gallon per coat.
- What should I do with leftover paint?
- Keep a labeled can of each color for touch-ups. Fairfax County says leftover latex paint can be air-dried (pouring it onto newspaper speeds that up) and thrown out with regular trash, and paint you can't dry goes to a household hazardous waste site (county guidance (opens in a new tab)). Other localities set their own rules, so check with yours.
Or let us handle it
If you'd rather have your weekends back, our crews paint whole homes in the same order this guide lays out: repairs first, then ceilings, walls and trim, room by room. Furniture is moved and covered, walls are patched and spot-primed, and your written quote names the Sherwin-Williams or Benjamin Moore product, sheen and color for every room. Get an instant price range online; your price is confirmed after a free on-site walkthrough.
Sources
Rules, dates and product limits in this article come from these pages. Check them again before you start; agencies update their guidance.
- Sherwin-Williams — The Best Order to Paint a Room (opens in a new tab) — accessed November 7, 2026
- Benjamin Moore — How to Cut In Paint (opens in a new tab) — accessed November 7, 2026
- Benjamin Moore — Regal Select Eggshell (N549) technical data sheet, rev. April 2025 (opens in a new tab) — accessed November 7, 2026
- Benjamin Moore — Advance Waterborne Interior Alkyd Semi-Gloss (793) technical data sheet, rev. January 2019 (opens in a new tab) — accessed November 7, 2026
- Sherwin-Williams — Emerald Interior Latex Matte (K36) product data sheet, August 2020 (opens in a new tab) — accessed November 7, 2026
- Sherwin-Williams — Emerald Urethane Trim Enamel, Gloss (K39) product data sheet, July 2025 (opens in a new tab) — accessed November 7, 2026
- U.S. Census Bureau — Statistical Abstract of the United States: 2012, Table 396, average relative humidity (NOAA Comparative Climatic Data) (opens in a new tab) — accessed November 7, 2026
- U.S. EPA — Lead-Safe Renovations for DIYers (updated August 20, 2026) (opens in a new tab) — accessed November 7, 2026
- Fairfax County Public Works — Household Hazardous Waste (opens in a new tab) — accessed November 7, 2026
Or Let Us Handle It
Your local team can take this off your list: free walkthrough, written quote, and the work done to the standard this guide describes.